Building Your Dream Podcast Studio: Considerations for Home Setup
In the age of digital content creation, many people have at least kicked around the idea of starting their own podcast.
While recording episodes and sending them into the online space is a relatively simple process (maybe once you get the hang of it), it does take some planning and preparation to separate a podcast from the crowd and turn it into a profit-generating enterprise.
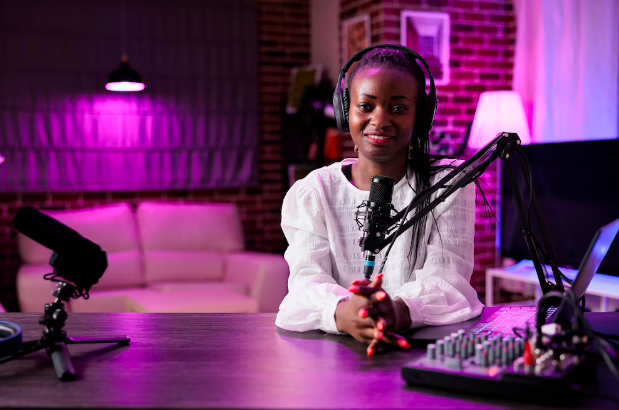
One area that is critical for podcasting success is the creation of a home studio. While I started recording from my phone in my walk-in wardrobe, as we grow and develop our podcasting shows, it is always good to consider building something more permanent.
From installing home studio acoustic panels (if this is needed) to procuring the most essential cables and accessories, keep reading for a complete breakdown of how to build your dream podcast studio.
If you are happy with your setup, that is great, we are all for “getting stuff done” without the need for perfection. But if you want to create a little podcast oasis, these are the things to think about!
Sound Mitigation
Thankfully, soundproofing home recording studios have come a long way from the days of egg cartons and bubble wrap. This insulation for acoustic panels will typically consist of a fibreglass core wrapped in decorative fabric. They can be cut into any number of shapes and have a thickness of 2 inches or less. They adhere directly to studio walls in a manner similar to a hanging picture frame.
These types of acoustic panels typically provide a noise reduction coefficient (NRC) of about .95. This is just short of the industry standard (1) for complete soundproofing. It is not necessary to cover every square inch of your wall with acoustic panels to achieve an NRC of .95. In most cases, it only takes between 15-25% wall coverage for acoustic panels to maximize their sound-absorbing potential.
The result is an attractive wall pattern for your podcast studio that casual observers may likely believe is simply wall decor.
Even better news is that these types of acoustic panels can easily be removed from the wall in the event that you ever need to use the space for something other than podcasting.
Again, if this is something you want to invest in. This is not required but makes for a better sound.
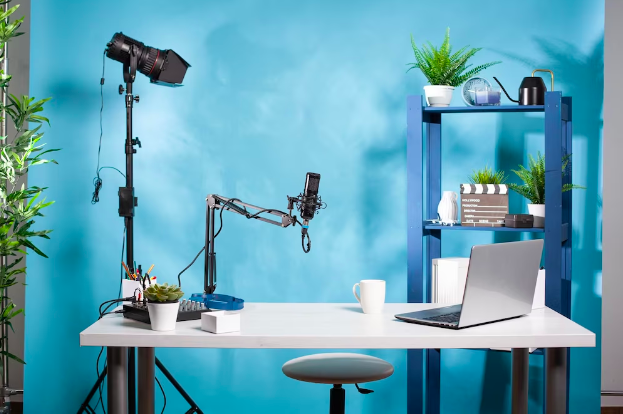
Create a Professional Workstation
Some ideas for converting a spare room into a professional recording space include:
Invest in a quality work desk to house all technology and office supplies
Use a good office chair to ensure comfort and ideal posture for recording
Have notepads and sticky notes on hand to jot down ideas as you record
Replaced your hinged door with a sliding pocket door to provide some additional square footage in the studio
Minimise clutter and ensure optimal lighting so that you are well-organized and able to quickly track scripts and materials during episodes
Another great idea is to replace a regular bed with a futon, if possible. This frees up space during the day and provides a place for podcast guests to sit if you need to bring them into the studio.
Invest In Technology
One of the appeals of starting a podcast is that the barriers to entry are quite low. As long as you have a computer, internet connection, and recording device, you can upload episodes.
With that said, this also means that listeners have unprecedented choice when selecting the materials they want to consume. Your podcast has little chance of making a strong impression if it is grainy, distorted, or unprofessional in any way.
Therefore, it is important to invest in the best recording technology that you can afford. If your computer is slow or bogged down by viruses, consider a computer specifically designated for podcast purposes.
Research the best digital audio workstation (DAW) software on the market to help you edit, mix, and export episodes.
Select a microphone--and appropriate stand--that best captures the frequency of your voice. Content Queen uses Rode, we highly recommend any of their products!
If you really want to go the extra mile, consider purchasing studio monitors for your recording space. These look like speakers but are specifically designed for recording professionals, allowing them to hear all frequencies clearly so that they are not publishing distorted sounds that tend to get lost on basic consumer speakers.
Cables and Accessories
Finally, it is important to have all necessary cables and accessories on hand and clearly organised for utilisation during recording. A wall rack with labels is most creators’ preferred method in this regard.
While there are literally hundreds of cables and accessories you may need, a few of the absolute essentials include pop filters, USB cables, MIDI cables, HDMI cables, RCA cables, and Y-splitter cables.
Go the Extra Mile With Your Home Podcast Studio
Creating your dream podcast studio is a nice luxury if you are in it for the long haul, With this in mind, acoustic wall panels, a professional workstation, the latest technology,, and all applicable cables and accessories are 5 pro tips that can help turn a spare room in your house into a dream recording studio!


